NOW
ICESLEEPFURNISH

Setup Guide

The Path to
Perfect Sleep

Professional setup in just 13 minutes — from unbox to first use

Why Setup Matters

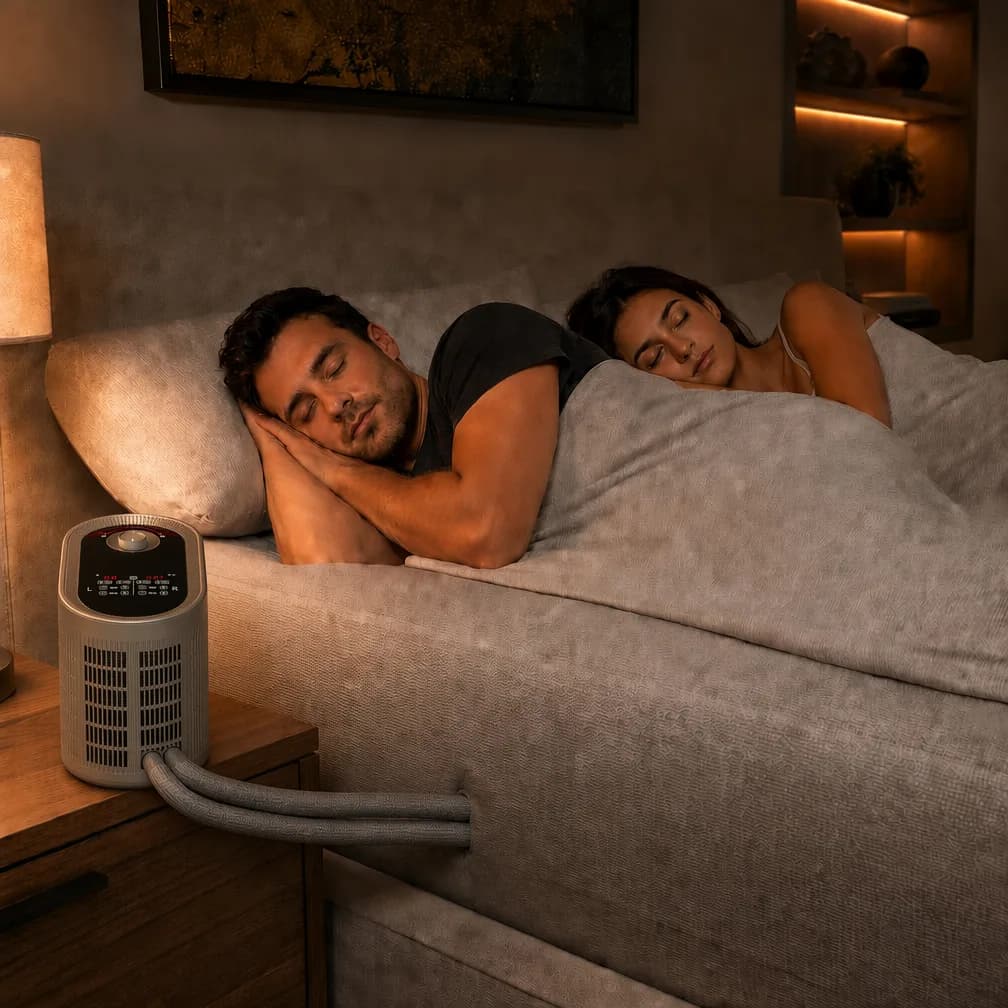
Your Sleep Starts With Correct Installation

Thermal Calibration

Improper water level or air in pipes can degrade temperature accuracy by ±3°C — eliminating the deep sleep benefits of 32-34°C microclimate control.

13-Minute Setup

Precision engineering means most setups complete in 13 minutes. Every second saved in setup is a second spent recovering in deep sleep.

Safety Certified

IPX65 waterproof rating, 5-layer protection (E1-E5 error codes), and water-electricity separation ensure zero-risk operation 24/7.

Setup Guide

The Path to Perfect Sleep

Watch it in action

Bed Setup, on Video

Watch the full installation first, then the removal and storage — so you know exactly what to expect before you start.

Full Installation Guide

Removal & Storage

Unfold Mattress Cover

Lay the cover flat, logo up, pipes toward headboard

Align the cover with mattress edges
Ensure the side with logo faces upward
Direct connection pipes toward headboard
Smooth out any wrinkles

Secure Four Corners

Pull elastic straps over mattress corners, tighten evenly

Hook straps under mattress corners
Adjust tension for a snug fit
Verify no wrinkles on surface
Ensure pipes remain unobstructed

Understand Port Layout

Water filling port on top, Left/Right mattress pipe ports, HR monitor port (AI only), DC power

Locate top water fill port
Identify L/R circulation ports
Find HR monitor interface
Locate DC power input

Connect Water Pipes

Insert left pipe to L port, right pipe to R port, listen for click

Match left pipe to "L" port
Match right pipe to "R" port
Push firmly until audible "click"
Gently tug to ensure lock

Reset & Prep

Locate reset button (marked "R") under unit, ensure unit is stable

Verify unit is on stable surface
Check "R" button accessibility
Ensure ventilation gaps (15cm)
Verify water level is initial empty

Power Connection

Plug DC barrel connector into power port, connect adapter to wall

Insert DC barrel into power port
Connect AC adapter to wall outlet
Check for green light on adapter
Avoid cable tension

Control Setup

Turn control knob, verify LED display shows temperature

Rotate dial to wake system
Check LED for temperature display
Listen for initial pump prime
Proceed to App pairing

Frequently Asked Questions

Still Have Questions?

Can't find what you're looking for? Our support team is here to help.

WhatsApp
+86 181 0259 4281
WhatsApp Chat
Email
eason@hlfurnish.com
Email Support

Need expert assistance?

Our white-glove setup team is available for virtual guidance 24/7. Connect with a specialist now.

Schedule Virtual Setup